
Phase 3 · Groundwork · Task 04 of 10
Foundations and Footings for Your Extension
What type of foundations your extension needs, how deep they go, what they cost, and what to expect on dig day.
Foundations are where the money disappears into the ground. Literally. You'll spend thousands of pounds on a hole full of concrete that nobody will ever see again, and if it's wrong, you'll spend thousands more putting it right. The rest of your extension sits on this. Every wall, every roof timber, every kitchen unit. Get the foundations wrong and nothing above them is stable.
The good news: for a typical single-storey rear extension, foundations are straightforward. Your structural engineer designs them, your groundworker digs and pours them, and building control inspects them. Your job is to understand what's happening, know what to check, and have enough contingency in the budget for the surprises that are genuinely common at this stage.
Do this first
Before foundation work begins, several things must be in place. The footprint must be set out and checked before the dig, because the trench is excavated straight to those lines. Your builder should be appointed with a signed contract. Your structural engineer's foundation design must be completed and approved. Building control must be notified (formal notice of commencement, at least two working days before the dig). An LSBUD search must be done to map underground services. Your site should be set up with access for a digger and somewhere to pile spoil. If your extension is near a boundary, your party wall agreement must be completed first.
Foundation Types: What Your Structural Engineer Will Specify
You don't choose your foundation type. Your structural engineer does, based on ground conditions, soil type, loading from the structure above, and proximity to trees. But you need to understand what they've specified, because it directly affects cost and programme.
Two types cover the vast majority of domestic extensions in the UK.
Trench Fill
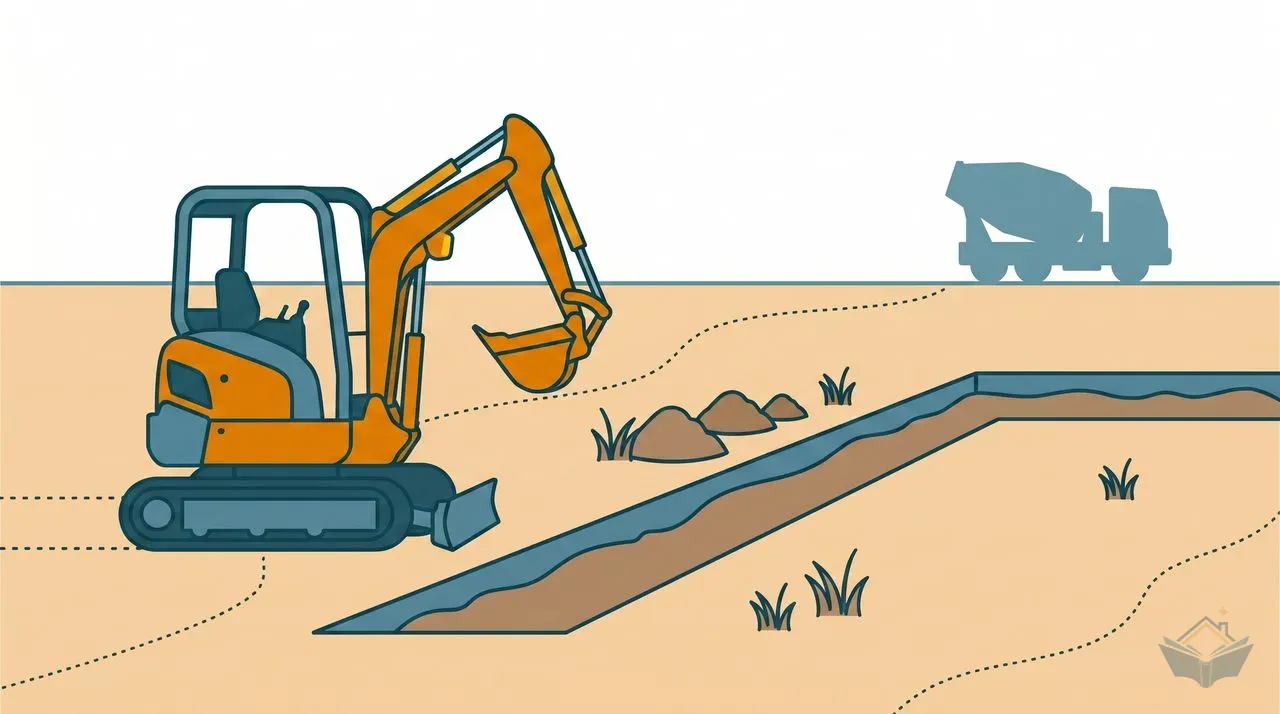
Trench fill is the modern default. A trench is excavated (typically 600mm, 1m or more deep), then filled almost entirely with concrete to within 150-200mm of ground level. It uses a lot of concrete. A 4m × 5m extension has about 13m of new trench. At 600mm wide and 1m deep, with the concrete stopping about 150mm below ground level, that is about 6.6m³ of concrete (13 × 0.6 × 0.85) before the over-order margin, or about 7m³ ordered: one large truck or two smaller loads. But it eliminates below-ground blockwork entirely, which means less labour, faster progress, and you're out of the ground in a day.
Trench fill costs more in materials and less in labour, so on a typical extension the two come out close, with strip often slightly cheaper. Its real advantages are speed and simplicity, which is why most structural engineers specify it unless there's a reason not to.
Strip Foundations
The traditional method. A narrower concrete strip (minimum 150 mm thick, or more where the strip projects further than that beyond the wall face) is poured at the bottom of the trench, then concrete blockwork is built up from that strip to ground level. Strip foundations use far less concrete (about 1.2m³ of 150mm strip for the same 13m of trench, versus about 6.6m³ for trench fill), but the below-ground blockwork takes days of skilled labour that trench fill avoids.
| Foundation type | Concrete per linear metre of trench (600×1000mm) | Concrete for ~13m of trench (4m × 5m extension) | Below-ground blockwork labour |
|---|---|---|---|
| Trench fill | ~0.5m³ per linear metre (850mm of concrete) | ~6.6m³ before over-order (1-2 ready-mix loads) | None |
| Strip foundation (150mm slab) | ~0.09m³ per linear metre of slab | ~1.2m³ slab + blockwork up to DPC | 2-3 days skilled bricklayer time |
Strip foundations still make sense in specific situations: where concrete prices are very high, where access prevents a ready-mix truck, or where the structural engineer needs more control over the foundation geometry.
Less Common Types
Pad foundations support point loads rather than continuous walls. If your structural engineer specifies a steel post or column (common with open-plan layouts and large bifold openings), it will sit on an isolated concrete pad. These are designed individually and aren't a substitute for perimeter foundations.
Piled foundations become necessary when good bearing ground is very deep, typically beyond 2.5-3m. This happens on heavy clay sites near mature trees, where NHBC guidance pushes the required depth beyond what trench fill can practically achieve. Mini-piling costs £5,000 – £15,000 on top of your normal foundation budget. The structural engineer specifies when piles are needed, and you don't get a choice about it.
Raft foundations spread the load across the entire footprint as a single thick concrete slab. They're less common for extensions but sometimes proposed when ground conditions vary across the site. If your SE specifies a raft, ask them to explain why the simpler options won't work. There should be a clear reason.
How Deep Do Foundations Go for a Single-Storey Extension?
Approved Document A sets a minimum of 450mm to the underside of a strip foundation to avoid frost, and more on shrinkable clay (below). In practice, 1m to firm ground is the working baseline for most extensions. But "minimum" is doing a lot of work in that sentence. Actual depth depends on four things, and only one of them is under your control.
Soil type. Clay soils shrink and swell with moisture changes, which means foundations need to go deeper to reach stable ground. NHBC standards classify clay by plasticity: low plasticity needs a minimum 750mm depth, medium needs 900mm, high plasticity needs 1000mm or more. Sandy or gravel soils are more stable and often allow the standard 1m depth.
Trees. This is where foundation costs escalate fast. Trees extract moisture from clay soils, causing ground movement that can damage shallow foundations. The NHBC publishes tables linking tree species, distance from the building, and soil type to required foundation depths. An oak tree 10 metres from your extension on high-plasticity clay can push your foundation depth to 2m or beyond. Willow, poplar, and elm have similar influence zones.
Warning
If there are trees near your extension footprint and you're building on clay soil, get an arboricultural report before finalising the foundation design. NHBC's zone of influence for high water-demand trees such as oak, poplar, willow and elm reaches 1.25 times the tree's mature height, so a tree well over 10m away can still set your depth. Tree roots discovered during the dig can force design changes on the spot, with building control demanding deeper foundations than planned. That means more concrete, more excavation, more cost, and delays while your structural engineer revises the calculations.
Frost protection. Foundations must be deep enough that frost can't reach the bearing ground and cause heave. The minimum for frost protection alone is 450mm, but in practice this is never the governing factor because other requirements always push the depth well beyond it.
What building control finds on the day. Your structural engineer designs based on assumptions about the ground. Building control inspects the actual ground. If the soil at the bottom of your trench doesn't match the structural engineer's assumptions (softer than expected, different composition, unexpected tree roots), the inspector will require you to dig deeper. Unexpected depth is why a contingency on foundation costs is non-negotiable.
1m to 2.5m+
The range of foundation depths for UK extensions. A straightforward 1m trench on good ground is the best case. Clay soil near mature trees can push the depth to 2.5m or more, which may require switching from trench fill to piled foundations.
What this guide covers
- 01The Structural Engineer's Role
- 02Before the Dig: Trial Holes, Made Ground and Soft Spots
- 03What Happens on Dig Day
- 04The Building Control Inspection
- 05Concrete: What You Need to Know
- 06What It Costs
- 07What Goes Wrong
- 08Curing: The Boring But Critical Bit
- 09What Happens Next
Free guide, just enter your email
The remaining 9 sections are free too: enter your email and confirm it to open them. Includes The Structural Engineer's Role, Before the Dig: Trial Holes, Made Ground and Soft Spots and What Happens on Dig Day. We'll also email you when we publish a new blog post.
No spam. Unsubscribe anytime.
General guidance for homeowners in England (and Wales where we say so), not professional advice. Every site is different: check anything that affects your build with a qualified professional, your local council or building control. Terms
Frequently asked questions
Reference guides for this task
Free guides to the tools, materials and terms this step involves.
Tools
Materials
- All-In Ballast
- Building Sand
- Coarse Aggregate
- Concrete
- Concrete Cover Spacers
- Concrete Curing Blanket
- Damp Proof Membrane (1200 Gauge)
- Drainage
- Formwork Timber
- Hardcore
- Line Marking Spray Paint
- Mesh Reinforcement A142
- Mesh Reinforcement A193
- Mesh Reinforcement A252
- Ready-Mix Concrete C25
- Ready-Mix Concrete C30
- Rebar 12mm
- Rebar 16mm
- Sharp Sand
- Tie Wire